
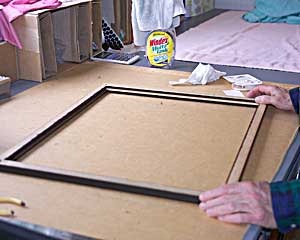
 |
Turn the frame upside down. |
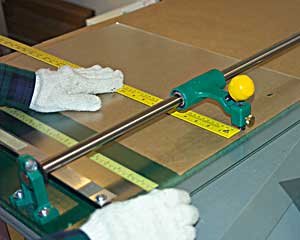 |
Place a piece of nonglare glass, nonglare side
up, into a glass cutter.
Put a metal measure stick in the middle of the glass
and eyeball the frame size. (Ex: 22")
|
| Run the blade toward you from the center, stopping
~2" from the end and use 2-3 light strokes to cut the end. Repeat... pushing the cutter away from you. |
|
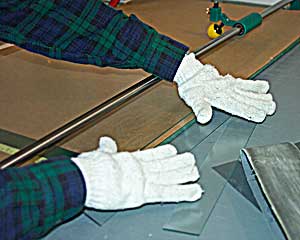 |
With gloved hands, palm the glass to remove
the cut section. Sand lightly with a 220 sand paper. |
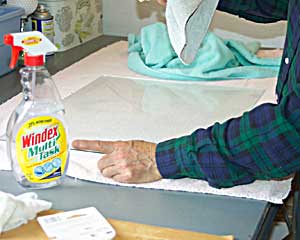 |
Starting with the nonglare side, wash both sides of the glass with "Windex with Vinegar" (not ammonia) |
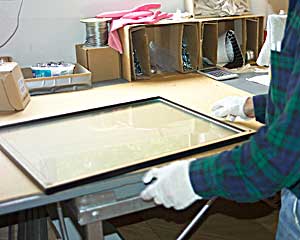
| Place the glass nonglare side down in the frame.
Look for lint and vacuum off any you find. |
 |
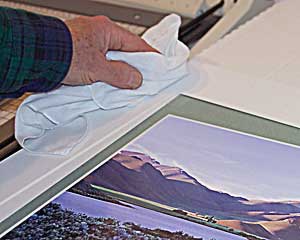 |
Rub down the picture and both mats with a hanky. |
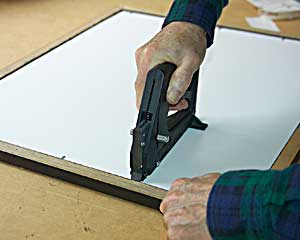 |
Place the picture upside down in the frame and fire 2 framing
points from a staple gun, pushing down on frame as you squeeze the handle. Turn the picture over and look for squareness. Tape the mats to the picture if they want to move out of position. Fire points every 4-5 inches. |
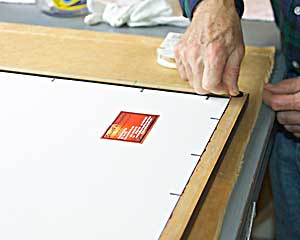 |
Adhere a business card. Apply 2 fuzzy brown pads to the bottom to keep the picture from touching the wall. |
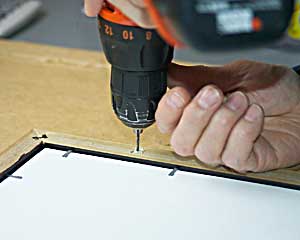
| With a pencil, mark a spot 3 3/4" down from
the top on each side of the frame. (with larger pictures, move
further down) Using a 5/16" drill bit (3/32 if the frame is oak) drill a hole in 2-3 short strokes. Careful-not too deep. |
 |
| Vacuum up sawdust from hole and run the tool around entire perimeter of frame to keep picture clean. | 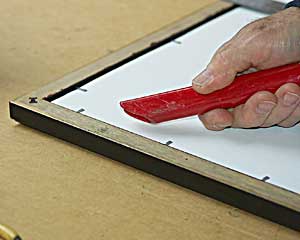 |
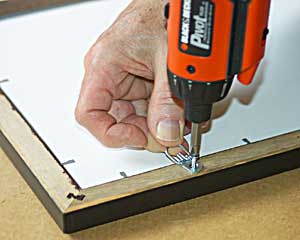 |
Place a ruler in the middle of the picture.
Take note of 2".
Aim a hangar at the 2" mark and drill a screw into the hole in little short strokes. |
| If you strip the hole, go down 3/4" and drill & new hole to use. | |
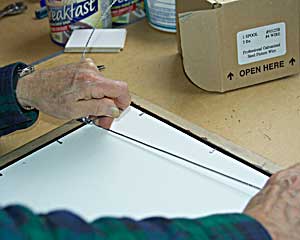 |
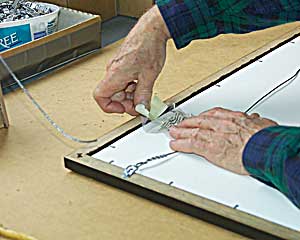
Thread the wire through 1 hangar, twist about 2 inches.
Then hold the wire fairly tight and draw the center to the 2" mark.
Crimp the wire at the other side. Cut the wire 2" longer with
a side cutters, then tighten about 1/4" more. Twist the 2". WEAR GLOVES. 8X10 pictures use #3 wire 16X20 pictures use #4 wire large pictures use #6 wire |
 |
Using masking tape, fix a 30# wall mount to the back of the frame. |
|
Put cardboard corners on a picture if you're delivering by car where you might stack the pictures. Use NO corners if the picture goes into the mail. That way, the glass will remain flat! |
|